ADVERTISEMENT
Fall – is there any time of the year that is more beautiful than those crisp autumn days?
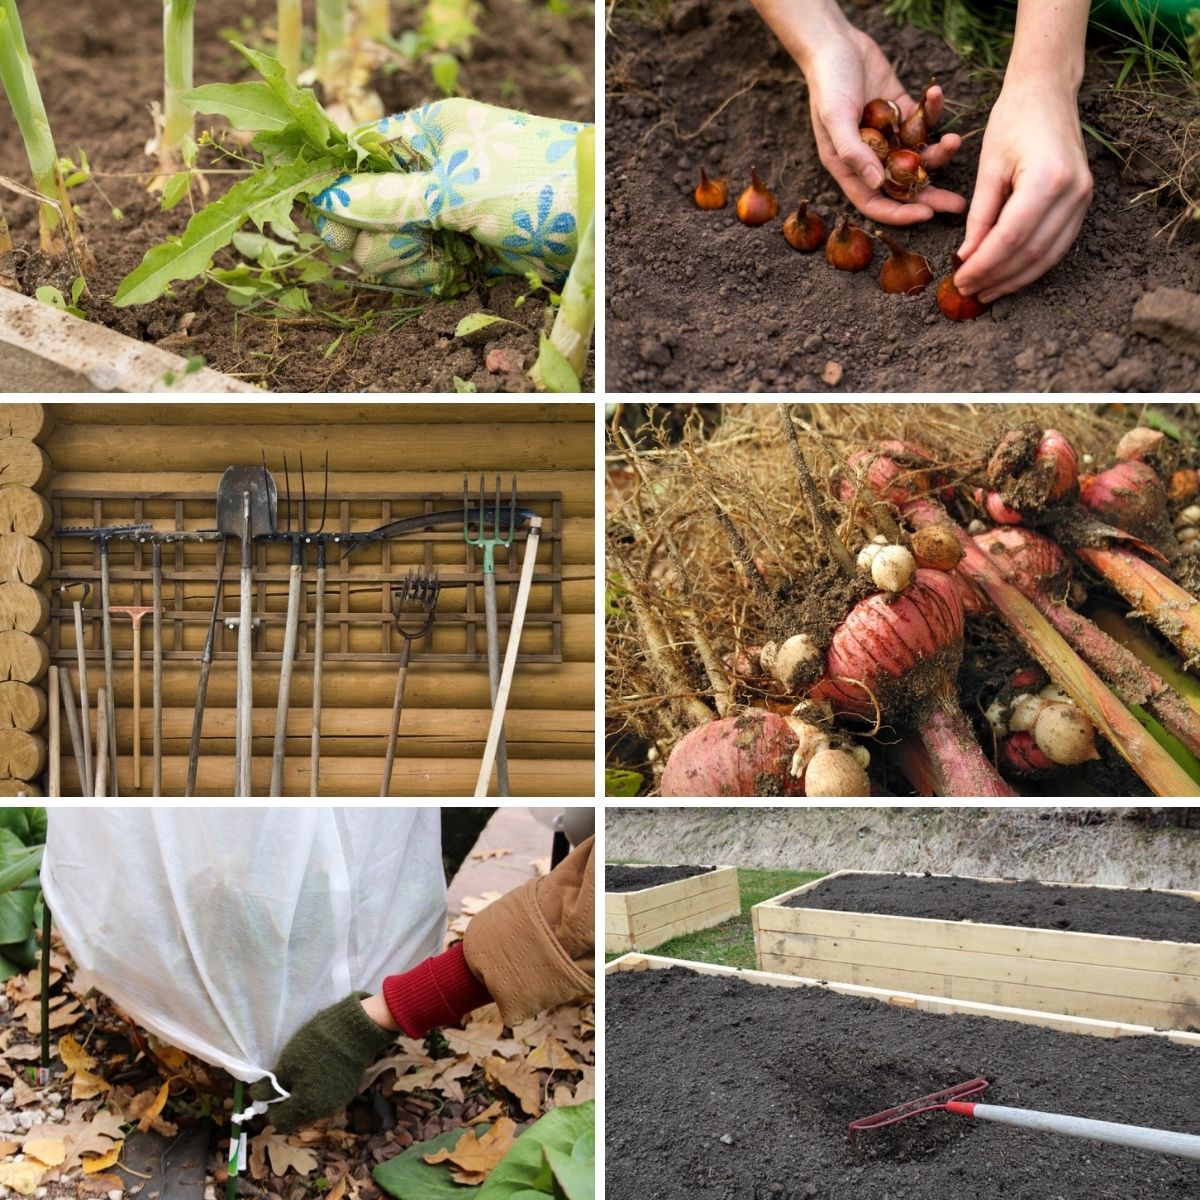
Fall garden tasks to get your garden ready for the winter season
Although fall brings with it some beautiful moments, the reality is that most gardeners suffer from serious gardening fatigue by the time October rolls around.
You might want nothing more than to curl up in front of a cozy fire with a cup of apple cider and a slice of apple pie – but unfortunately, there are several chores you still need to get done before you can hang up your trusty pair of gardening gloves.
There are several must-do items that you must check off your to-do list before winter rolls around. Here are 15 ways to winterize your garden – some of these steps might be optional for you, but others should be non-negotiable.
15 Ways to Winterize Your Garden
1. Remove and Store Your Plant Supports

Plant supports in the garden.
You’re going to need to pull all of your plants out of the garden, but before you can do that, you should pull out any plant supports that they might be leaning on. Wipe them clean, then stack them up to be used for next year. Keep the ones that you need for early-spring crops, such as peas, in the front, so that you can grab them easily when it comes time to plant. You may also want to keep gear like row covers and floating covers handy so that you can grab them at a moment’s notice as well.
2. Clean Up Those Leaves
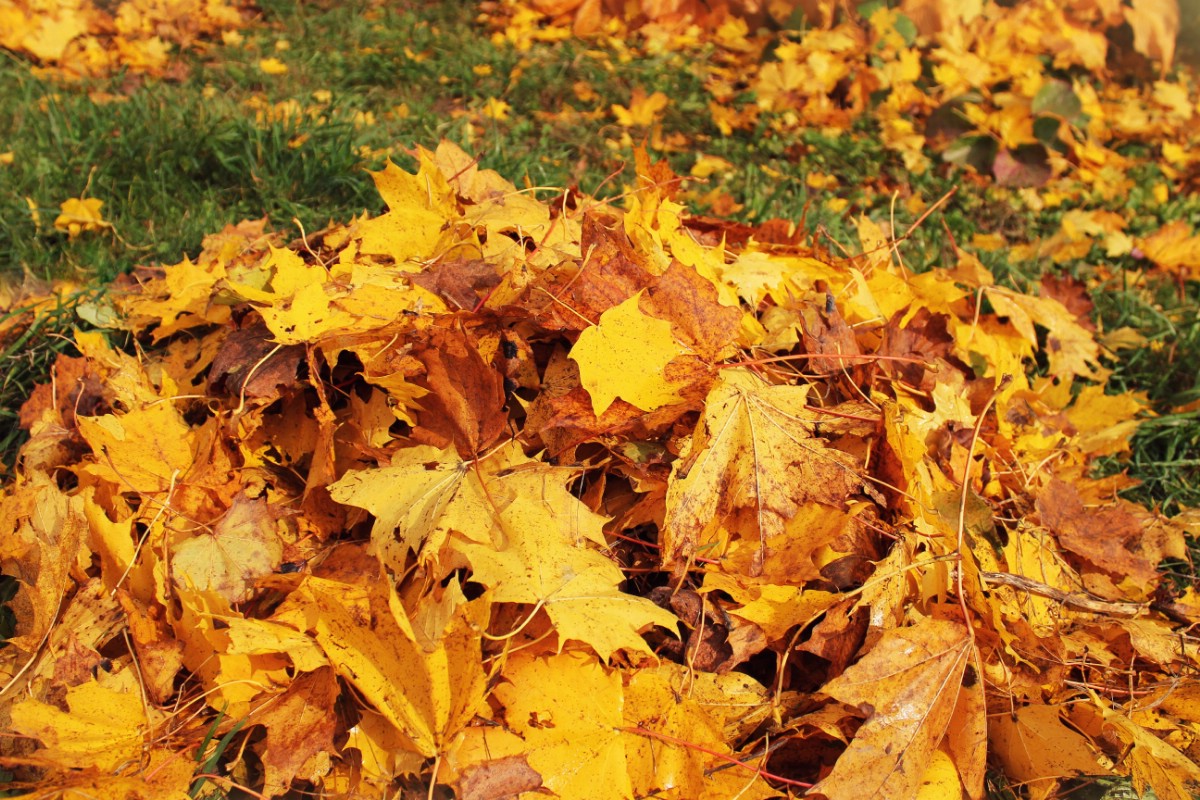
Leaves in the backyard collected in a big pile.
There are a few options for what you can do with all of those fallen leaves in the garden – but whatever you do, don’t bag them and toss them to the curb! There are so many ways you can make good use of those garden leaves. They’re rich in organic matter and great for your oil, so consider spreading them evenly over the garden to allow them to decompose without rotting or molding.
If there are leaves on your lawn that you’re worried about, run the lawnmower over them a few times – the blades will chop them up and give your lawn a nice dose of nutrients. You can also toss some leaves into your compost pile or add them to your raised beds to supply a beneficial dash of fertilizer.
3. Store Containers
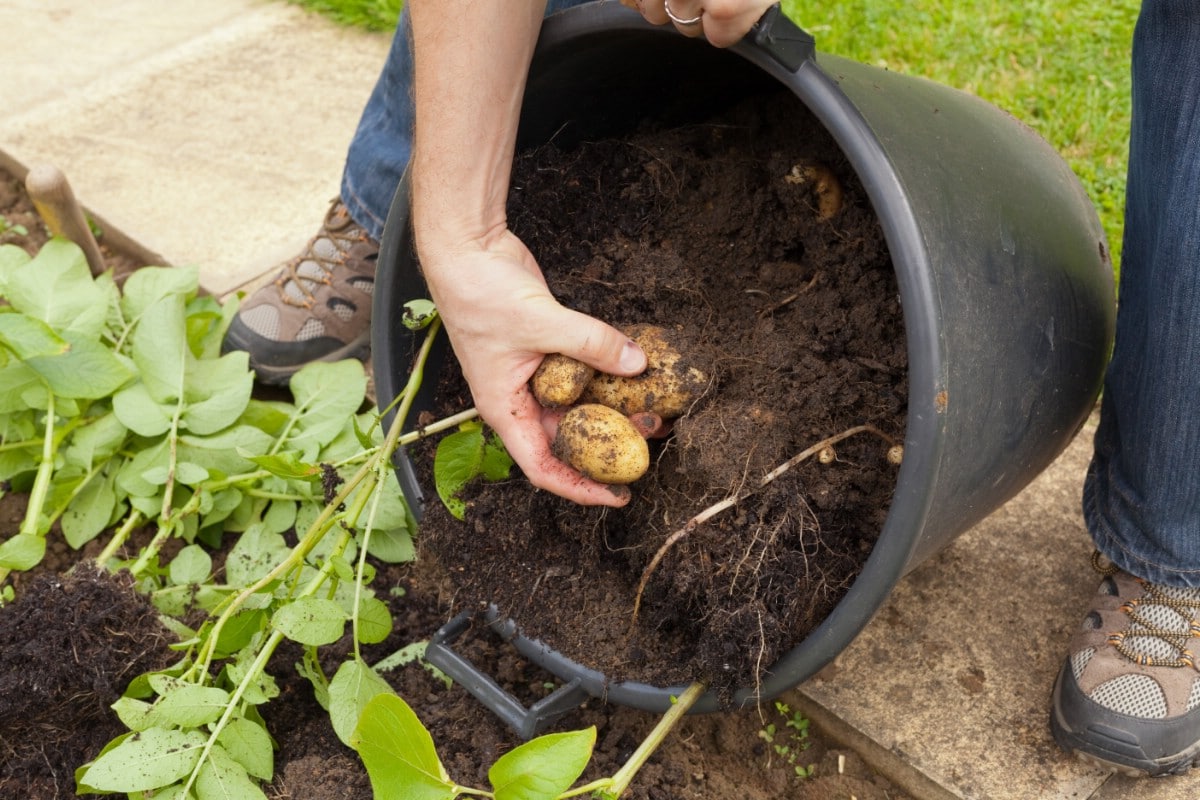
Harvesting and emptying a potato container.
If you grow any plants in containers, you will need to empty them and bring them inside. Dump the dirt in the compost and be sure to wash any containers made out of ceramic, plastic, terracotta, or other hard materials. This will kill any pathogens that may have been introduced to the soil and also render them nice and sparkly clean for springtime use. Allow them to dry before you stack and store them. Get more tips on potato container gardening here.
4. Top-Dress Your Raised Beds
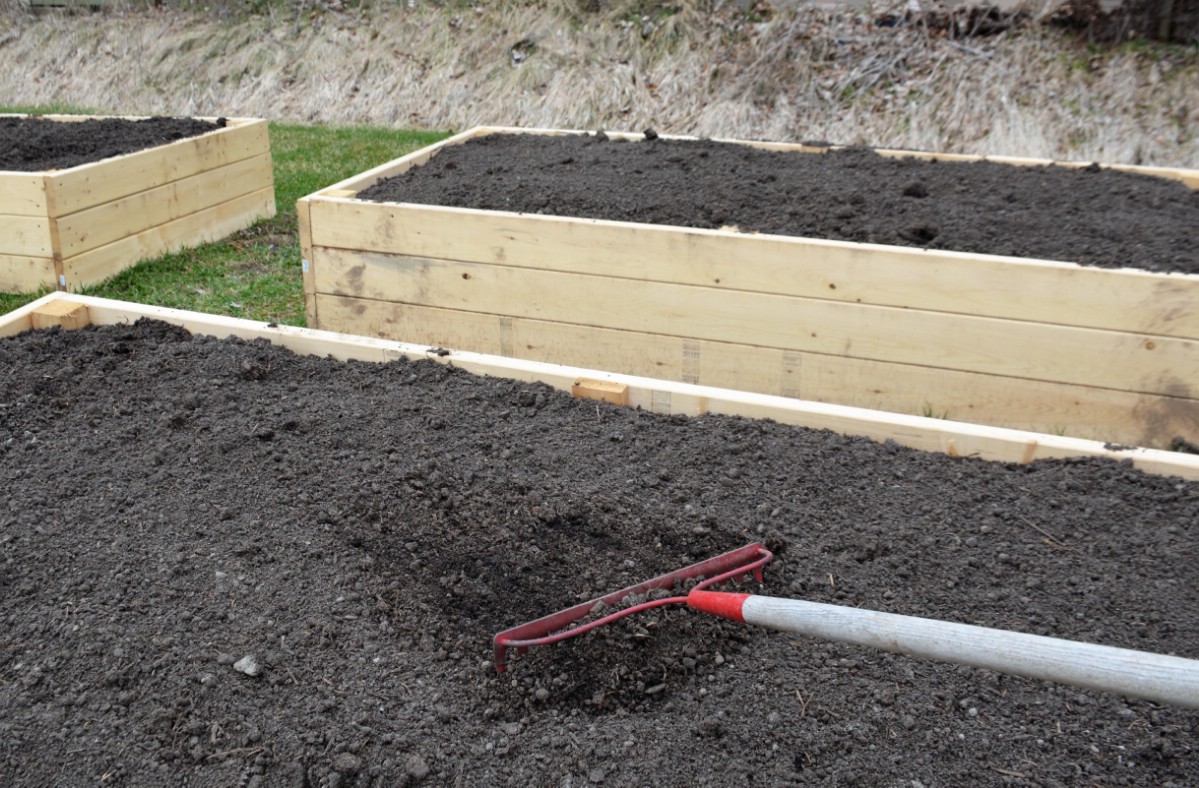
Evening the fresh soil on a raised garden bed.
You will also want to replenish your raised beds with any soil or leftover compost. This is a great way to prepare your beds so that they’re ready to go for planting come springtime and it’s going to be much easier to do now versus in the spring when everything is all muddy.
You need to make sure to replenish the soil in your raised beds on a regular basis because it will gradually become depleted over time, as you harvest the beds and the soil is swept away naturally by the wind and rain. Learn how to make DIY raised garden beds out of cement blocks.
5. Shut Off the Outdoor Water Supply
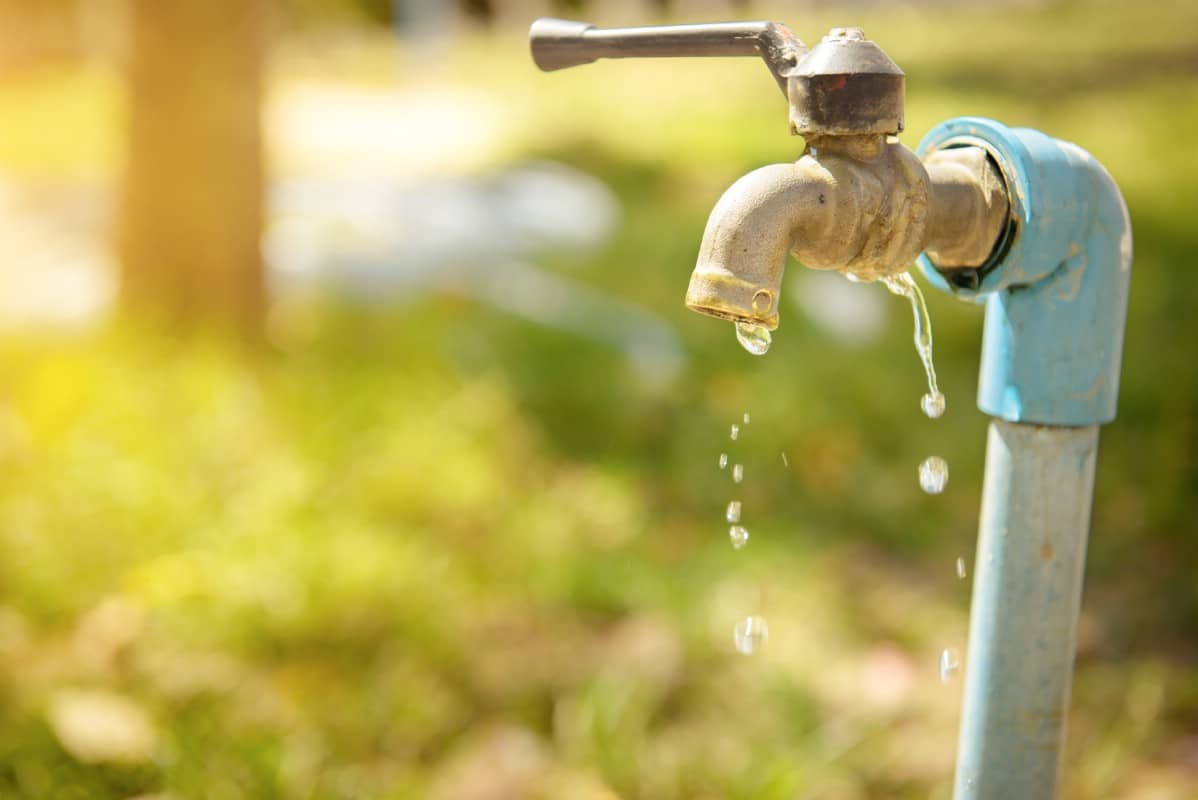
Outdoor water tap.
Naturally, this doesn’t need to be the first thing that you do as you prepare your garden for winter, but it should be right up there on your to-do list. Make sure you drain all of your hoses and pull any irrigation taps out of the garden. If you use a rain barrel, that should be covered and emptied, too. You don’t want to have to deal with frozen lines or pipes in the dead of winter – trust us!
Before you shut off the water, though, it might be worth it to give your plants one last long drink. Give a squirt to new shrubs, trees, and perennials in particular.
6. Mulch
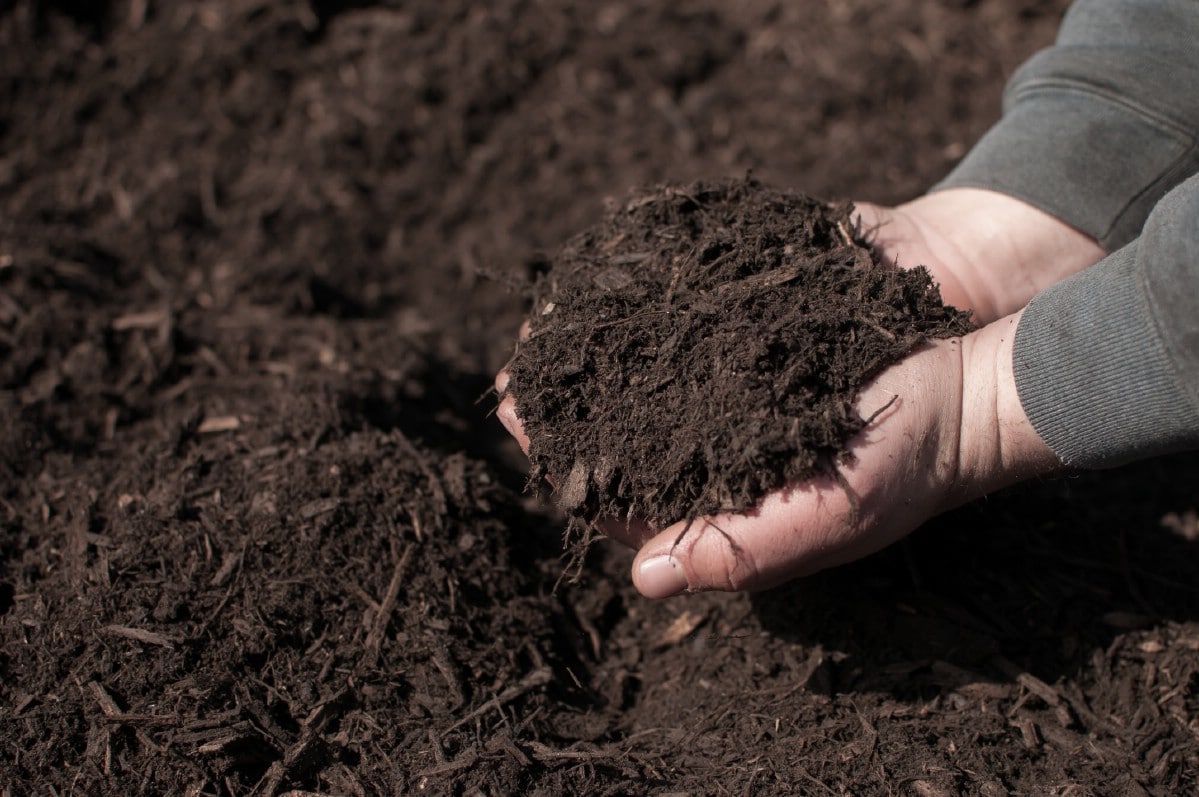
Mulching just feels good! 🙂
The fall is also a wonderful time to apply mulch to the garden. You may want to put down a few layers (just two or three inches) around your frost-sensitive plants, particularly near the roots. You can also apply some mulch over fall-planted bulbs like garlic.
This will help protect them from a deep freeze as well as from opportunities diggers, like squirrels and chipmunks.
Another benefit of mulch? It will help suppress some of those early weeds in the spring! Read our huge guide on mulching here.
7. Bring Tender Plants Inside
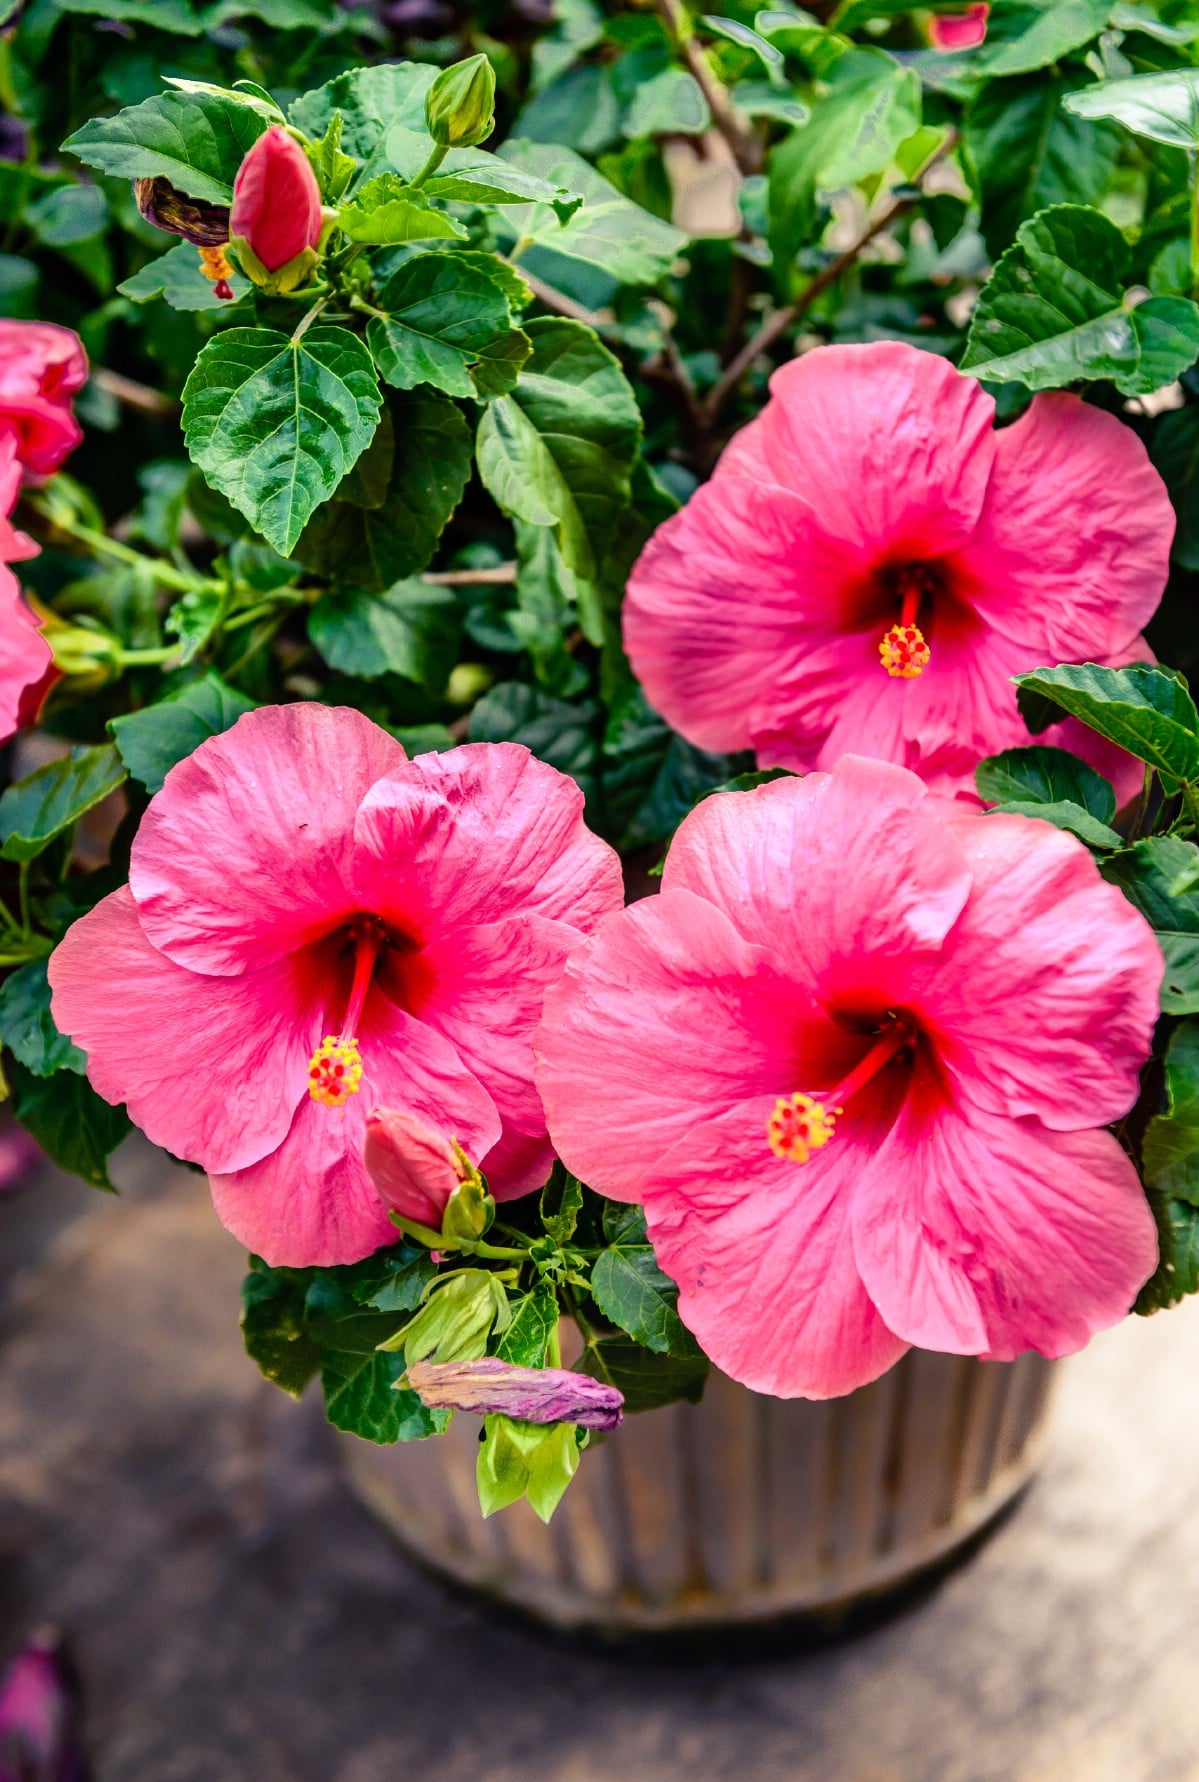
Gorgeous hibiscus flowers.
If you plan on saving any plants, like tender annuals or houseplants, bring them inside. There are many plants that you can grow outdoors in warmer weather – like hibiscus – that should be brought indoors and placed in a warm, sunny spot of the house during the winter months.
8. Clear Out the Gardening Shed
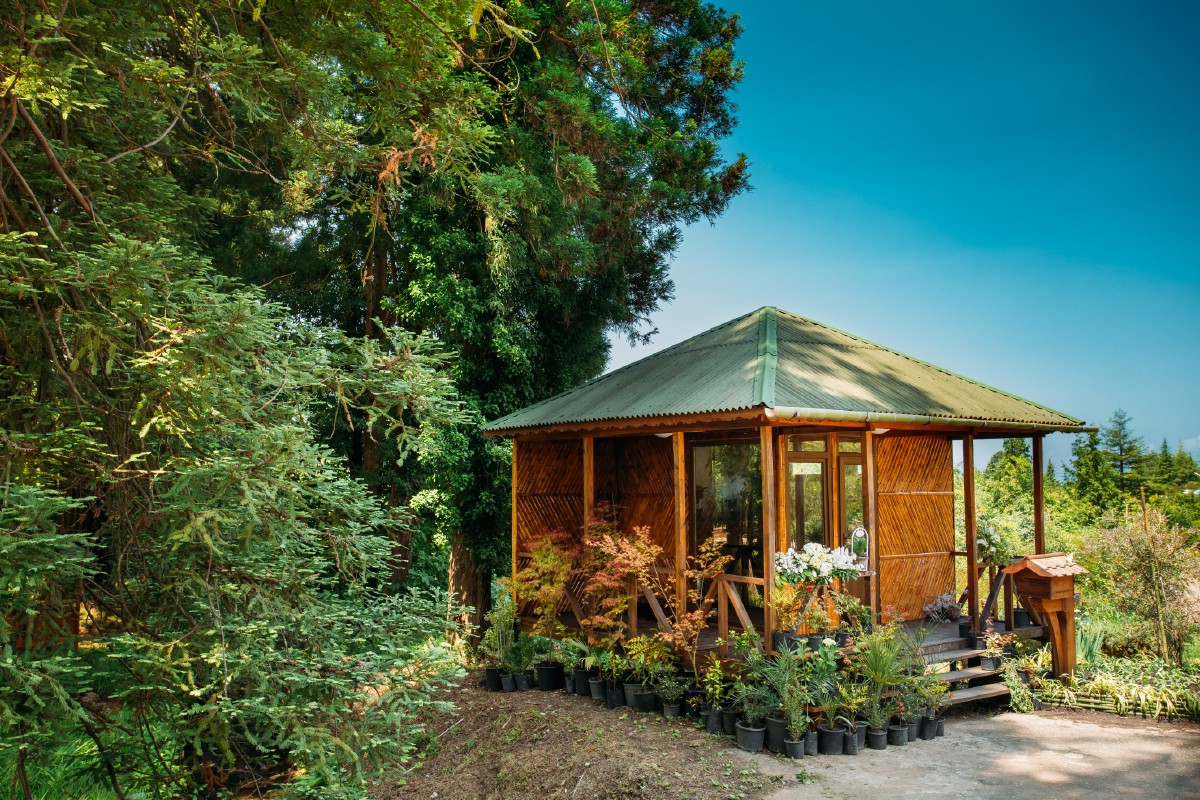
My dream garden shed!
…or the basement, the barn, or wherever else you happen to stash all of your gardening supplies. One of the first or last things you do each fall should be to throw out anything you no longer need. Get rid of any old pots or plastic trays you no longer need so that you have more room for the stuff you need to stash over the winter (such as lawn furniture, chairs, and grills).
9. Plant Your Perennials
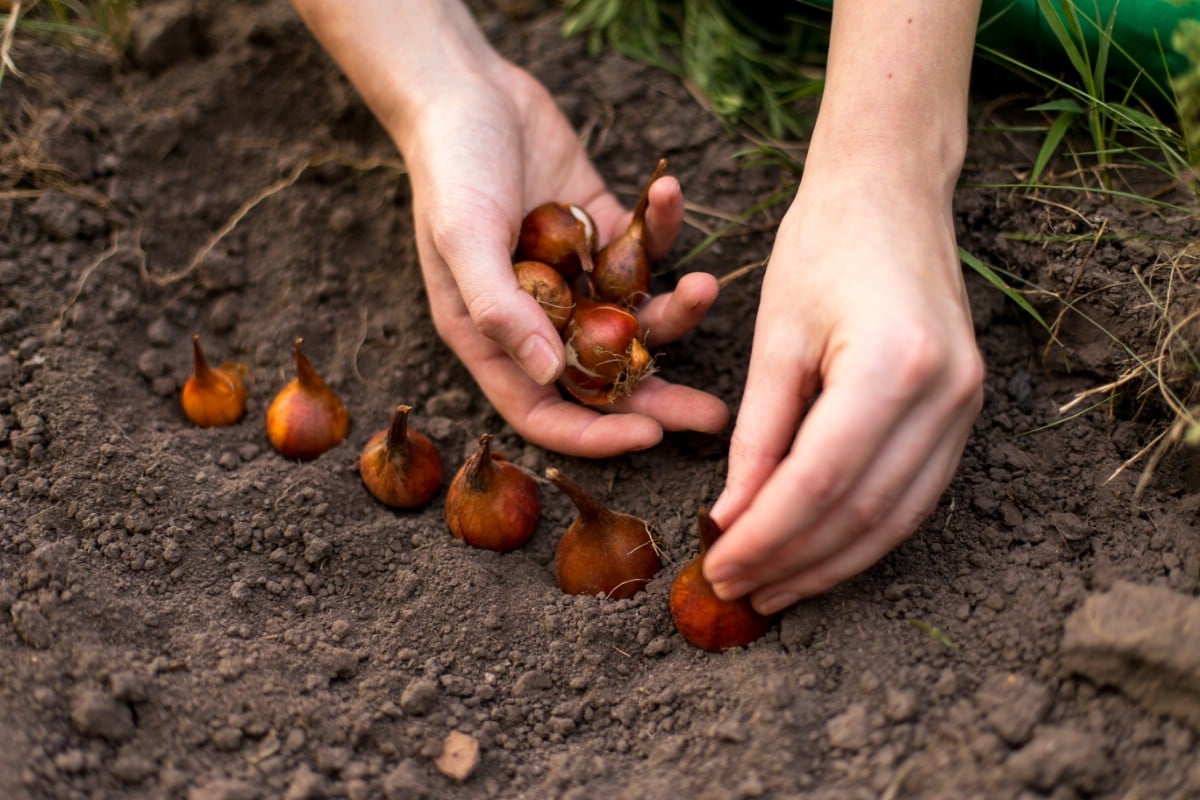
Planting tulip bulbs.
If you plan on growing any spring-blooming perennials, like tulips or lilies, fall is the best time to plant your bulbs. Go ahead and pop them in the ground now, before it freezes – you’ll appreciate the effortless color come springtime! Check out this list of 110 perennial flowers if you want to get more ideas on what to plant.
10. Dig Bulbs and Tubers
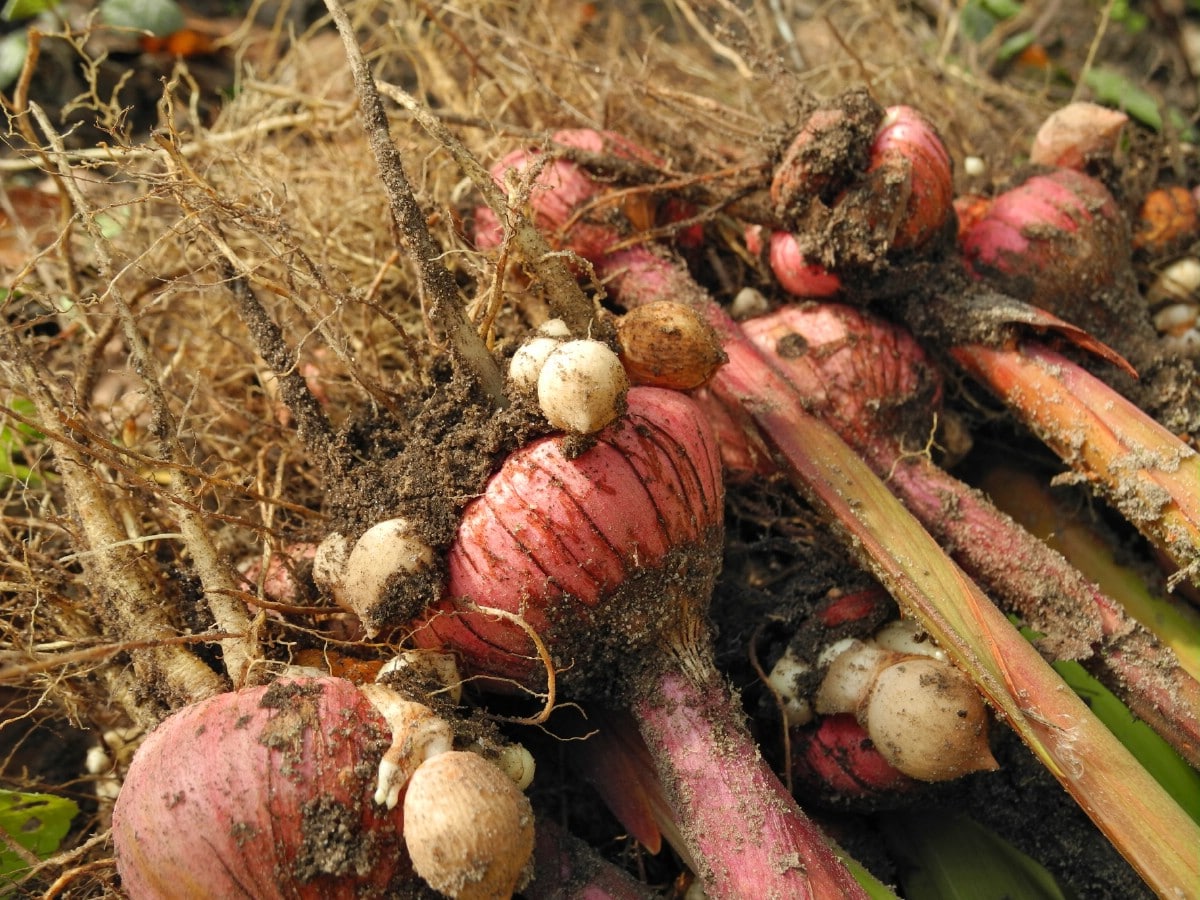
A big pile of bulbs ready to be prepared.
Similarly, there are some plants whose bulbs and tubers should be removed before the hard freeze sets in. You can often lift tubers from plants like dahlias out of the soil before the first frost so that you can replant them the following year.
To do this, you will need to cut the plant so that only about six inches of stem remains above the soil. Let the tuber remain in the ground for a few days to sprout new eyes, then dig around them to loosen the soil and extract the plant from the ground. Let it dry, then store it in a plastic bag with sawdust inside (and a few holes poked through, too).
11. Clean and Store Your Tools
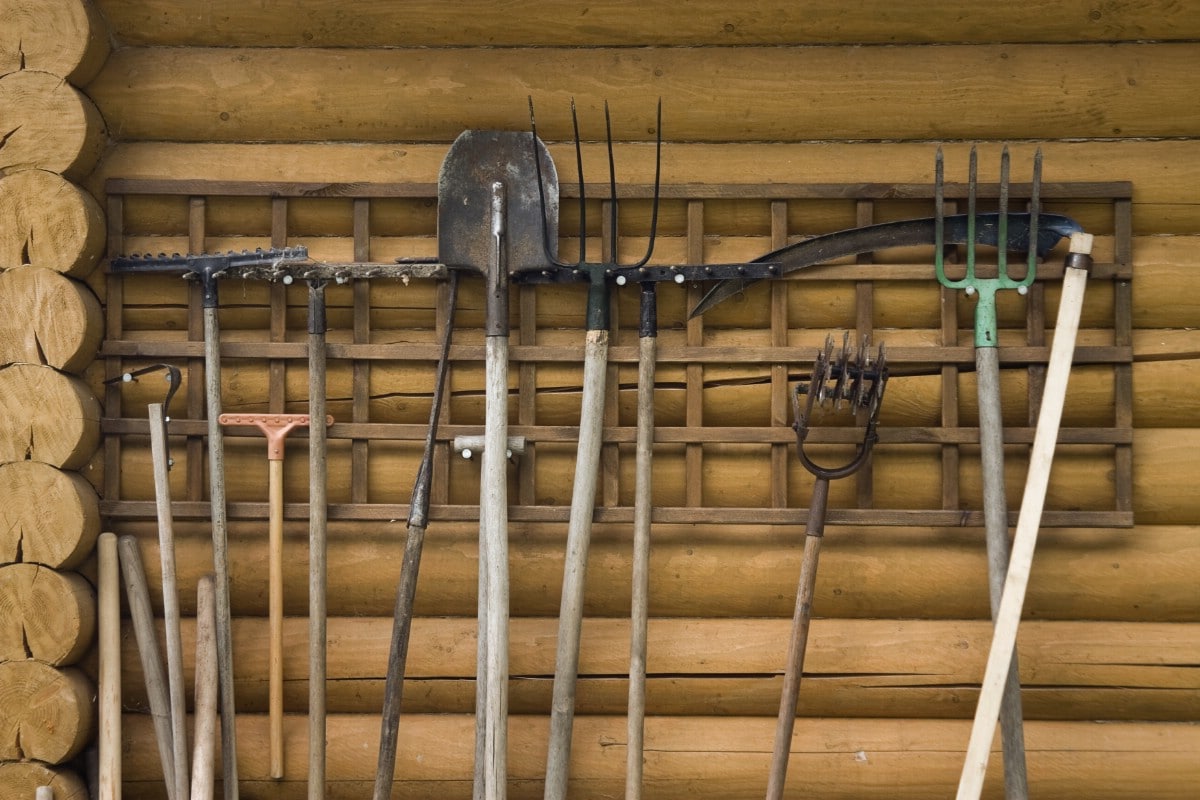
Neatly organized and cleaned garden tools! Just how I like it.
Before you pack up for the winter, take the time to clean and store your tools. Now is also a good time to go through everything and see what you have missing or broken that needs to be replaced. Check out our list of 35 garden organizers.
12. Get Rid of the Weeds
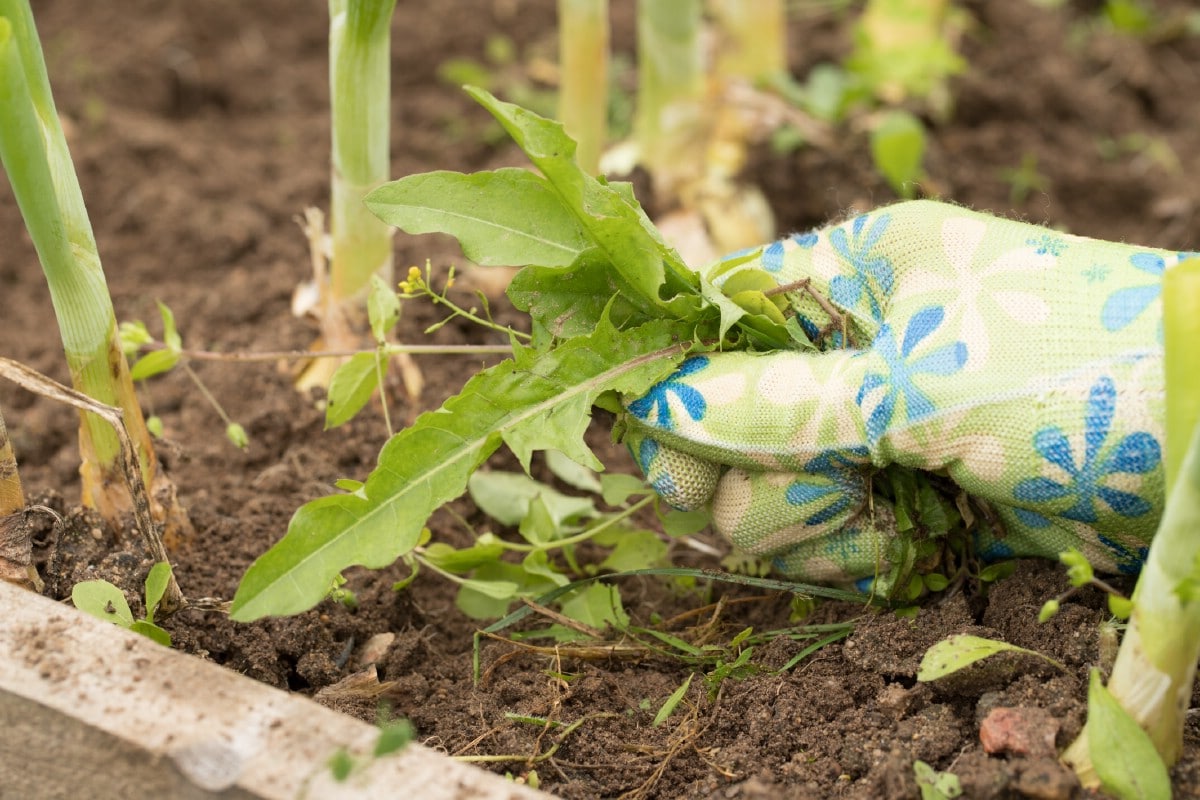
De-weeding,
You might be tempted just to leave them there – after all, the plants are going to die, right? – but you really should take some time to dig up any weeds in the garden. The problem is that weeds will set hardy seeds in the soil and they’ll come back next year, making your problems ten times worse in the spring.
13. Compost Summer Annuals
Have any summer annuals you don’t plan on bringing indoors for the long haul? Go ahead and compost them.
14. Protect New Plantings
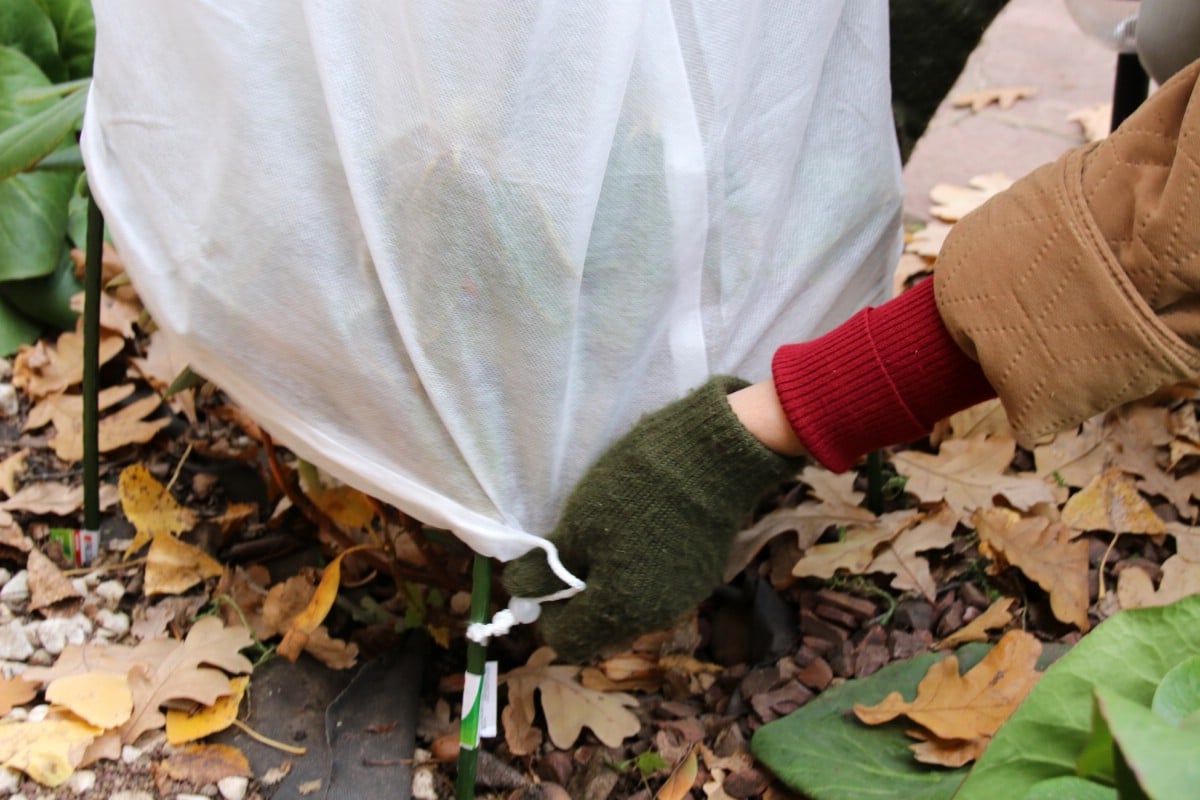
Adding a layer of protection to a freshly planted bush.
If you planted a new perennial bed this year, you might want to add some extra winter coverage. You can drape a garden cloche over the area or install a cold frame if you want to continue growing vegetables throughout the winter months.
Newly planted shrubs, trees, and rose bushes should be covered with fleece jackets or plant cones, which will help protect these fragile plantings from the driving snow and wind. You can also use landscape fabric or burlap to get the job done.
15. Get That Compost Cooking
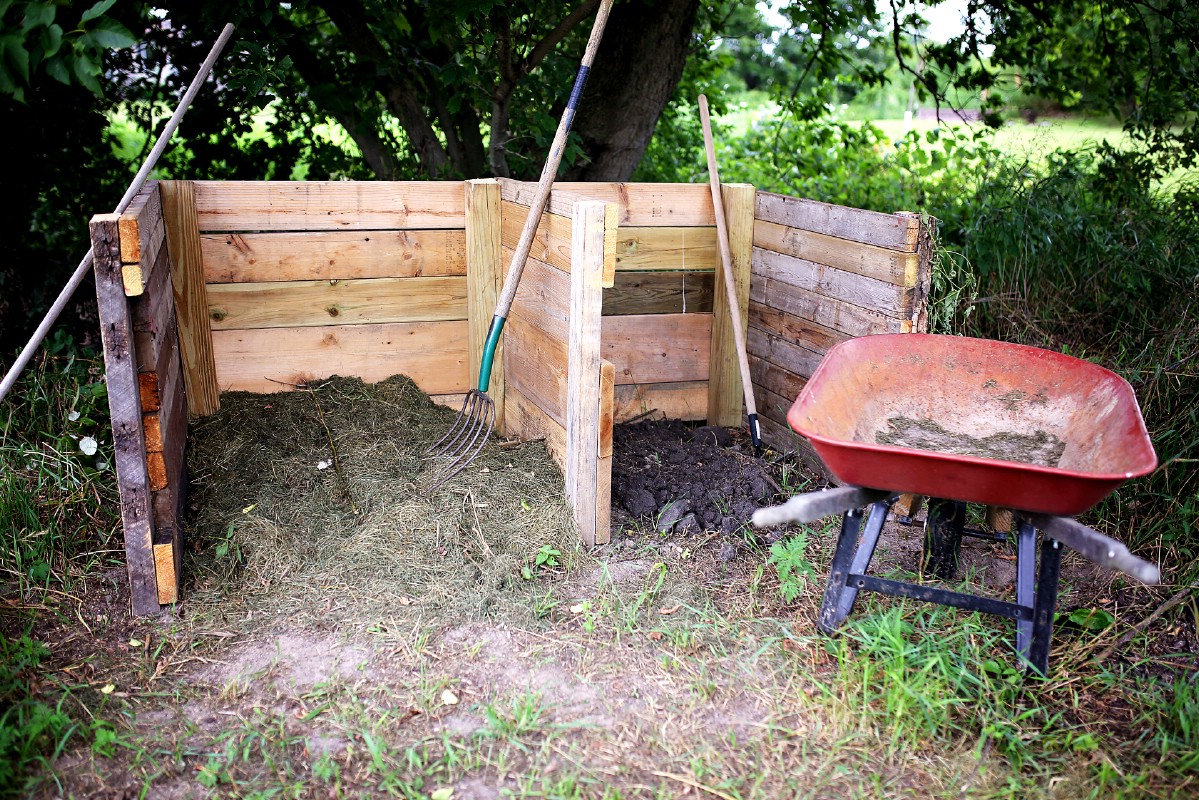
Easy pallet wood compost bin.
Fall is a great time to really rev up your compost pile! If you didn’t have a compost going all spring and summer, you may want to start one now – learn how to make a diy compost bin. You can use all those old plant parts, grass trimmings, and leaves to get started. Let the ingredients sit for at least five months, turning it regularly and making sure it stays adequately moist. You should have fresh, rich garden soil to use on your new plantings once spring arrives! If you’re new to composting learn about what you can or can’t compost.
Don’t Stop Gardening Just Because Winter is Here
If a surprise frost or sudden freeze catches you off guard, don’t panic – many of these winter preparations can be made even after the weather turns. However, getting them done before the ground is hard is a good idea so that you can head inside knowing your garden is protected against the colder months ahead.
Don’t think that you have to stop gardening just because the weather turned, either. There are all kinds of cold-hardy crops you can continue throwing all winter long, particularly if you have access to an enclosed area like a greenhouse.
However, if you take these steps to winterize your garden, you’ll have much more time to enjoy some stress-free winter gardening (or not, if you’d prefer to relax instead!).
Related Content
This post was first published here


Leave a Comment
You have to login first to post a comment. You can register if you have no account yet.